

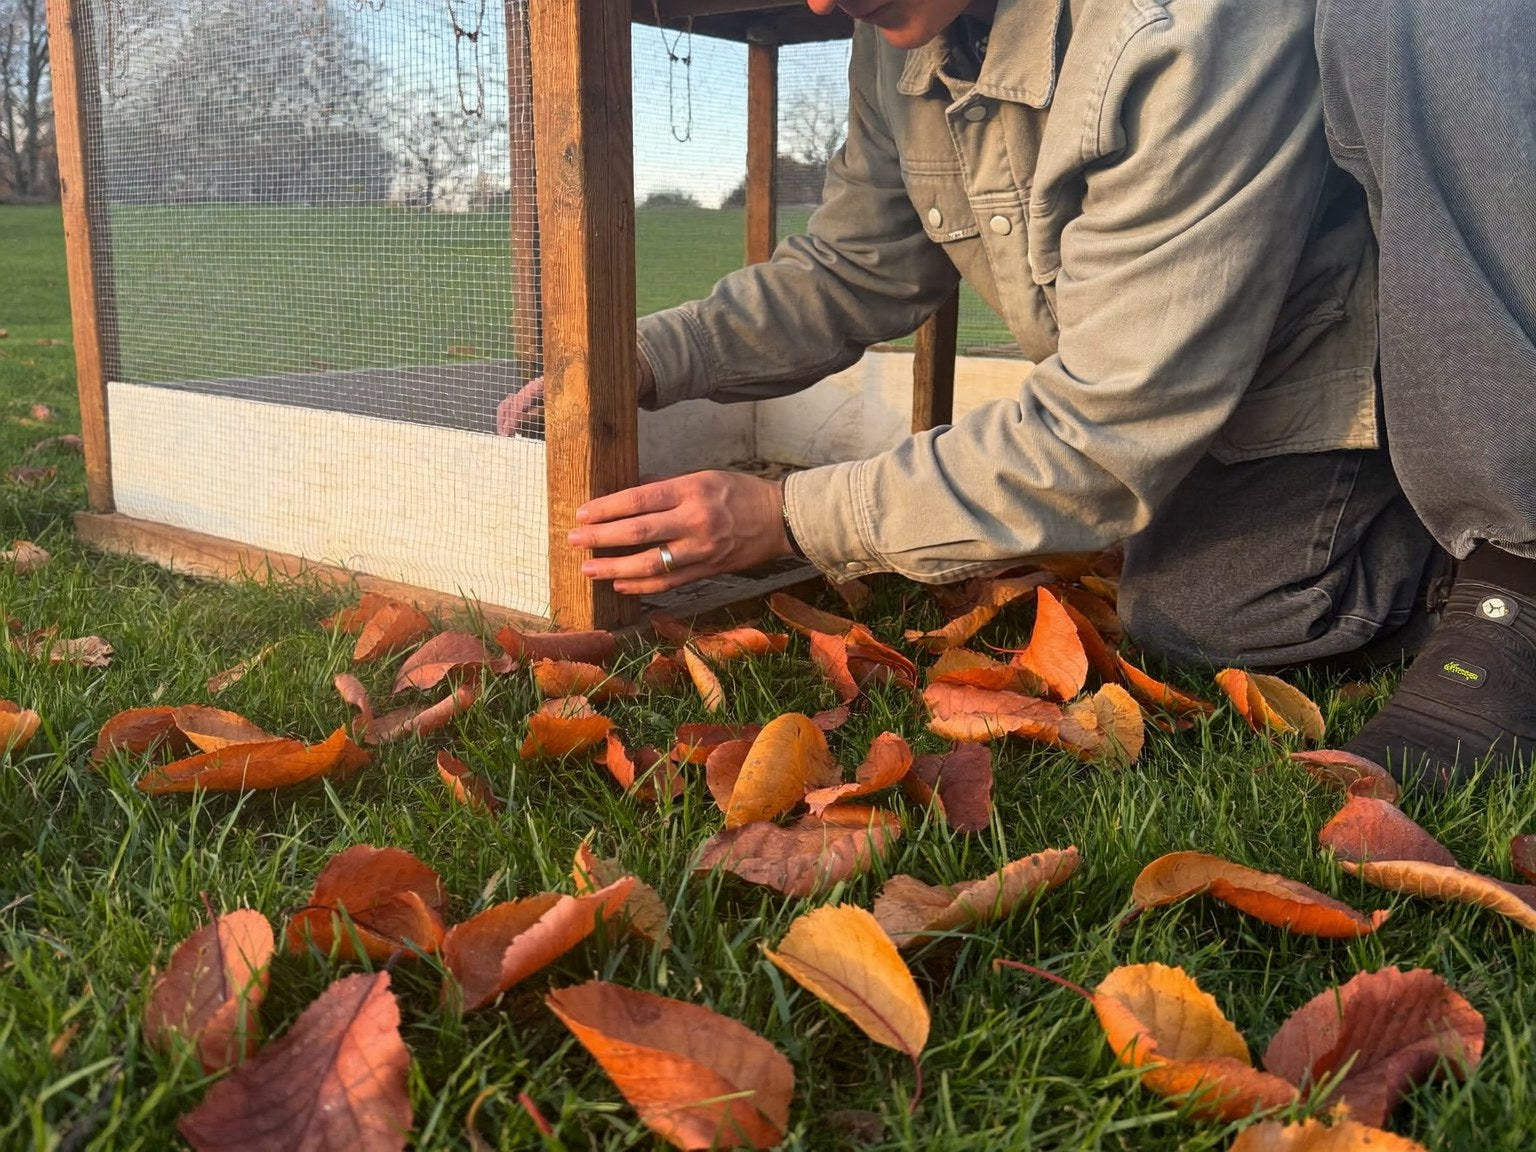
Winterize a chicken coop in four jobs, and do them in this order: dry it out, close the gaps, park it where it will sit until spring, then set up water and light. Order beats effort here. A sealed coop that's still damp is worse than a leaky dry one, and a coop parked in the low corner of the yard is a four-month mistake. Start about six weeks before your area's first freeze — before the end of August in high mountain and northern locations, not until December in southern Arizona. On a coop that rolls, one job has a deadline the ground sets.
The first-freeze normals on this page are NOAA's, the molt timing is Mississippi State's, and the moisture and housing rules are the University of Minnesota's and Penn State's — all four cited in full at the foot. Where a coop dimension appears, it is a manufacturer's own published figure.
When should you winterize your chicken coop?
Work back from your first freeze date. Six weeks of lead covers every job below. NOAA's 1991–2020 normals put that first freeze earlier than August 31 in some high mountain and northern locations, and in December further south.
The flock hands you a second cue, and watching for it costs nothing. Mississippi State University Extension describes the annual molt plainly — "Each year chickens molt, or lose the older feathers, and grow new ones" — and notes that "Most hens stop producing eggs until after the molt is completed." Feathers on the floor mean the birds are already spending everything they have on regrowth — Mississippi State puts an early molter at four to six months to finish and a late one at two to three. That week is when the coop work starts. The planning should already be done.
Being three weeks late is what makes winterizing expensive. Budget 20 minutes for most jobs on the list in October, and reckon on half a day for the same job in December — the task has not changed, but frozen ground, gloves and a short afternoon all stretch it. One of them — the last move — gets harder every week, because the wheels these coops carry are sized for mown grass rather than for frozen ruts.
The schedule below is stitched from four publications: NOAA for the date, Mississippi State for the molt, Penn State and University of Minnesota Extension for the jobs. None of them prints it as a calendar.
| Trigger | Roughly when | The job | Where the reasoning lives |
|---|---|---|---|
| 6 weeks before first freeze | Six weeks back from your own date — mid-July at the earliest, late October at the latest | Pick the winter parking spot and check that it drains | This page, plus what winter costs a coop |
| At the molt | Whenever the feathers start dropping | Deep clean, then let the coop dry out in the sun | bedding and flooring |
| 4 weeks out | Four weeks back from your own date — early August at the earliest, November at the latest | Seal cracks and holes; leave the vents working | where the vents go |
| 4 weeks out | Same weekend | Settle the insulation and heat questions on paper | coop heaters |
| 2 weeks out | While a shovel still enters the soil | Make the last move; level and chock the coop | This page |
| First freeze | 32°F or below | Water plan running, grit out, run cover on | the winter decisions |
| After December 20 | Daylight starts returning | Adjust the light timer as the days lengthen | University of Minnesota Extension |
| Spring thaw | When the ground takes a wheel again | Deep clean, then the first move back onto grass | moving a coop |
The fall checklist, in the order the jobs have to happen
Dry first, seal second, park third, plug in last. Every job below removes water or stops you adding it, which is why the order holds: sealing a damp coop traps the moisture, and moisture plus cold is the pairing the extension services warn about.
Deep clean while the hose still works. Pull the trays, strip the old litter, scrub the floor, then leave the whole thing open to the sun for a day. A coop cleaned in October dries in an afternoon. The same job in December happens in the dark, with cold water, on a surface that will not dry. What goes back in afterwards is the bedding guide's call, not ours.

Seal the gaps, then stop. University of Minnesota Extension is exact about the job: "Inspect your coop for holes and cracks that may allow air to flow freely into the coop," because "Sealing these spots will prevent cold drafts and rodents from entering your coop over winter." Run a hand along the panel seams on a windy afternoon. The gaps that matter most sit at bird height, and they are the same gaps a mouse uses — the rodent half of that job is in coop pest control.
Sealing and ventilating are different jobs, and sealing the vents by accident is the classic winter mistake, so check that the vents still open and close. Where the openings belong is settled in coop ventilation; whether you shut them down in January is argued in the winter care guide. In the fall, just make sure the window still slides and the louvre still shuts before either freezes in place.
Settle the insulation and heat questions in October. There is a published temperature threshold and a published mounting height, and both are already worked through in our heater guide; whether you want heat at all is a genuine argument with two sides, and that one belongs to winter coop care. Nobody makes a good call about extension cords at 6 a.m. in a wind.
Stock the feed you'll be carrying. Feed intake climbs in the cold — UMN puts the increase at up to 25 percent. Grit matters more too. UMN's reason: "Snow cover and limited outdoor access during winter don't allow chickens to scavenge for rocks and other materials that support digestion." Penn State's storage advice is the practical bit: plan a spot for a couple of metal cans, which keeps feed and clean shavings "dry and away from rodents."
Then the summer kit. Shade cloth off, summer waterer emptied and stored, hose drained. Keeping water liquid is not a fall task but a routine that runs until March, and the equipment choices — heated founts, heated bases, heated dishes, plus a spare — sit in the winter care guide rather than here.
Checklist in hand? Take 10% off the coop it protects — before the ground freezes. GET MY 10% CODE
Where will the coop spend the winter?
Pick the winter spot in early fall and move the coop there while the ground is still soft. Frozen, rutted ground stops a small wheel dead, so the last move of the year has a date on it.
Wheel size decides how much slack you have, and it is worth checking whether the listing gives a diameter at all. Where one is published, 3.9 inches is a figure you will see — and a wheel that size is sized for mown grass. Halve it and you have the axle height, about two inches, which is the tallest frozen rut that wheel will climb rather than stop against. Nothing gets rated for frozen ground, which is the whole argument for making the last move while the ground is still soft. Where the listing describes the wheel in words instead — "built-in", "heavy-duty", "universal" — those are descriptions, not measurements. Tell us which coop you're looking at and we'll get the figure from the manufacturer before you order.
Which patch of your yard best fits drainage, sun and shelter is worked through in the winter care guide; the point here is that you've got to be standing on it before the freeze.
Choose the patch you are willing to lose. A coop that has moved every week since April stops moving for four months, and the ground beneath it takes the entire winter's manure. Pick the strip you planned to reseed in spring, or the corner of the vegetable bed you would like fed.
One measurement decides more than people expect: the distance from the spot to the nearest outdoor outlet and the nearest tap. Heated waterers plug in. Hoses freeze solid. Measure both in October, with a tape. In January you'll guess, and you'll guess short.
How do you prepare the winter spot before the ground freezes?
Three things go in before the freeze: drainage, a level footprint, and a path you'll actually walk in February. Do them while a shovel still enters the soil, because after the first hard freeze the spot is whatever you've left it as.
Level the footprint first. A coop sitting across a rut sits crooked, and crooked doors bind on the morning it matters most. Rake the ground flat, then park on something firm — gravel, pavers, or a plank under each wheel. Wheels left standing in soft mud freeze into it, and a frozen wheel is a wheel you wait out until March — hot water over a cold plastic or rubber wheel is a good way to crack one.
Give water somewhere to go. PSU's high-and-drained rule applies to the last 6 feet as much as to the yard: a spot that holds a puddle in October rain holds ice in January. A shallow scrape leading runoff away, or a barrow of wood chips spread over the standing area, is an hour of work that pays back at every thaw.
Then the path. Mark it before the first snow, because a route you can see is a route you clear. Skip it and you end up walking a slightly different line every day, which compacts a wide muddy fan across the middle of the yard by February.
Check the door swing and the drift line once the coop is parked. Note which way the wind arrives, because snow piles on the sheltered side — and the door you open twice a day should not be the door on that side.
What happens to the run in winter?
The run turns to mud before it turns to ice, and then the flock stops using it. University of Minnesota Extension is blunt: "Chickens tend to avoid going outside in the snow." One covered, littered corner keeps a usable patch of ground out there.
UMN's own suggestion is cheap to try: "If you have access to hay, laying a little bit in the run may encourage your chickens to go outside, scratch around, and forage the hay." Put that corner where you want the ground worst affected, because it takes traffic all winter. On a coop that rolls, it's the one patch you can't rotate away from until spring.
A stated cover is not the same claim as a cover over the run, and the difference decides whether the birds have anywhere dry to stand. Read the wording closely: "removable UV-resistant waterproof cover over the metal run" tells you where it sits; "protective tarp" on its own does not. Then check the size rather than assuming it. A stated cover dimension and a stated floor dimension are two different numbers, and a cover is often sized for part of the footprint rather than all of it — one published pairing works out at under a quarter of the run it covers. Tell us the coop and we'll get the cover dimensions from the manufacturer before you order, or start from the coops with a run already attached and settle it at the point of sale.
Snow on a fabric cover is weight, not decoration. Clear it after a heavy fall with a soft broom from the ground — never by climbing on the frame, and never with anything that can tear the fabric.
Does the coop's hardware do any of the winter work for you?
Six winter jobs are decided by hardware you either have or don't: an air opening you can close, a tray that pulls wet manure out, a cover over the run, a raised floor, wheels, and a wheel big enough to use them.
| The winter job | The spec that does it | The wording that actually confirms it |
|---|---|---|
| Shut the air down on a still, cold night | Openable or adjustable window, vent or louvre | "Adjustable", "openable", "sliding" or "ventilation door". "Windows" on its own does not commit — a fixed pane is a light source, not a lever |
| Get wet manure out without a shovel | Pull-out or removable droppings tray | "Pull-out" or "slide-out", ideally with "full-width". A tray that stops short of the roost line leaves the wettest litter where it is |
| Keep rain and snow off the run | Stated cover, tarp or curtain | The words over the run. A "protective tarp" with no location could be covering the roof, and the roof was never the problem |
| Keep the floor out of standing water | Raised floor, with a ground-clearance figure | Inches, not adjectives. "Raised on support legs" is a description; "height to the floor, 7.5 in" is the spec |
| Make the last move at all | Wheels, and a handle or lift point | Whether the wheels are on one end (tilt and pull) or four corners (push). One end is what you want on soft ground |
| Know whether that wheel crosses frozen ground | Stated wheel diameter | A number in inches. Halve it for the axle height, and compare that with the ruts you actually have |
Work down that third column with the listing open and you will know inside two minutes which of the six jobs the hardware does for you and which ones land on you with a shovel. Anything the listing leaves as an adjective is a question rather than a verdict — tell us the coop and we'll get the wheel diameter, the ground clearance and the cover dimensions from the manufacturer before you order. The offer stands on every coop we sell.
Our order of operations, and what getting it wrong costs
Given one dry weekend, we would spend it on the ground and the trays rather than on the walls. Water is the variable you can still control in January. A plastic wrap stapled on in October is a decision you're stuck with until spring — and staples into a panel are holes you cannot un-drive, so check the warranty terms before you reach for the gun.
Dry is the target. Warm is the thing people chase instead — and why moisture rather than temperature is the number that matters is argued from the extension sources in the winter care guide.
So what does getting the order wrong actually cost? Park in the low corner and you spend 16 weeks trying to dry out a coop standing in the wettest ground you own, hauling water along a path you did not choose, with no way to move it until the thaw. The trays still come out. The vents still work. The one variable nobody can fix in January is the one that got set in October, in about 20 minutes, with a shovel.
Being honest about the limits: none of this is a promise about a bird. Moisture control, tray cadence and a well-drained parking spot are what the published guidance supports, and that is the claim we will make. Anyone selling you certainty about a cold snap is selling something nobody can deliver.
What we can tell you is which coops make the winter jobs easier. Pull-out trays and a coop you can reposition onto drier ground are the two features that cut the most work out of January - the coops built to move give you the second, and the coops with covered runs keep the birds out of the weather without shutting them in.
Sources: University of Minnesota Extension, "Caring for chickens in cold weather" (Colleen Carlson and Hannah Lochner, reviewed 2026) — accessed August 11, 2026 · Penn State Extension, "Small Scale Poultry Housing" (Gregory P. Martin and Phillip Clauer, updated June 25, 2026) — accessed August 11, 2026 · NOAA National Centers for Environmental Information, "When to Expect the First Fall Freeze" (October 23, 2023) — accessed August 11, 2026 · Mississippi State University Extension, "Molting of laying hens" — accessed August 11, 2026.
Frequently asked questions
How to winterize a chicken tractor?
A floorless tractor has no floor to seal, so the winter work is ground and wind instead of walls. Pick the winter patch while the soil is soft, move it there, and accept that it stays put until the thaw. Block the windward side, keep a dry litter corner under cover, and check that the wheels are not sitting in mud that will freeze around them.
How to winterize a store bought chicken coop?
Start at the seams. A flat-packed coop leaks air where the panels meet, and University of Minnesota Extension's instruction is to inspect for holes and cracks that may allow air to flow freely into the coop, then seal them: "Sealing these spots will prevent cold drafts and rodents from entering your coop over winter." Leave the vents alone while you do it. Then check what the listing states: tray, openable window, cover. Ask us for the rest.
How to cover chicken coop for winter?
Cover the weather side and the run, not the vents. University of Minnesota Extension suggests placing burlap over opened or partially opened windows so air still moves, and installing roof vents so moisture and stale air can leave. A tarp stretched over one end of the run gives the flock somewhere dry to stand. Clear heavy snow off any cover before it sags onto the frame.
How often to clean chicken coop in winter?
University of Minnesota Extension gives two routines, not a schedule: pick up manure and remove soiled bedding routinely through the winter, or bed deep, stir the soiled top layer down and add fresh on top — which needs a deep clean in spring. Either way the trays come out on a fixed day, because chicken manure is 70 percent water by UMN's own figure, and every tray you empty is water leaving the coop.